Creation of an equipment
Open the TB WEB LINK software.
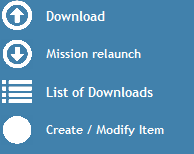
In the main Menu of TBWeb link, choose the menu “Create/Modify Equipment”.
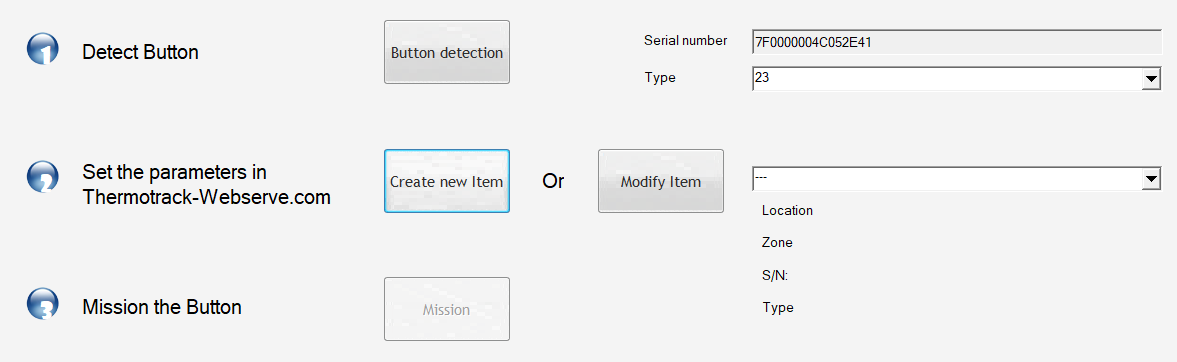
Click on Button “Detect Button”. The serial number and the type of Button are displayed.
Click on “Create New Equipment”.
The settings page is displayed.
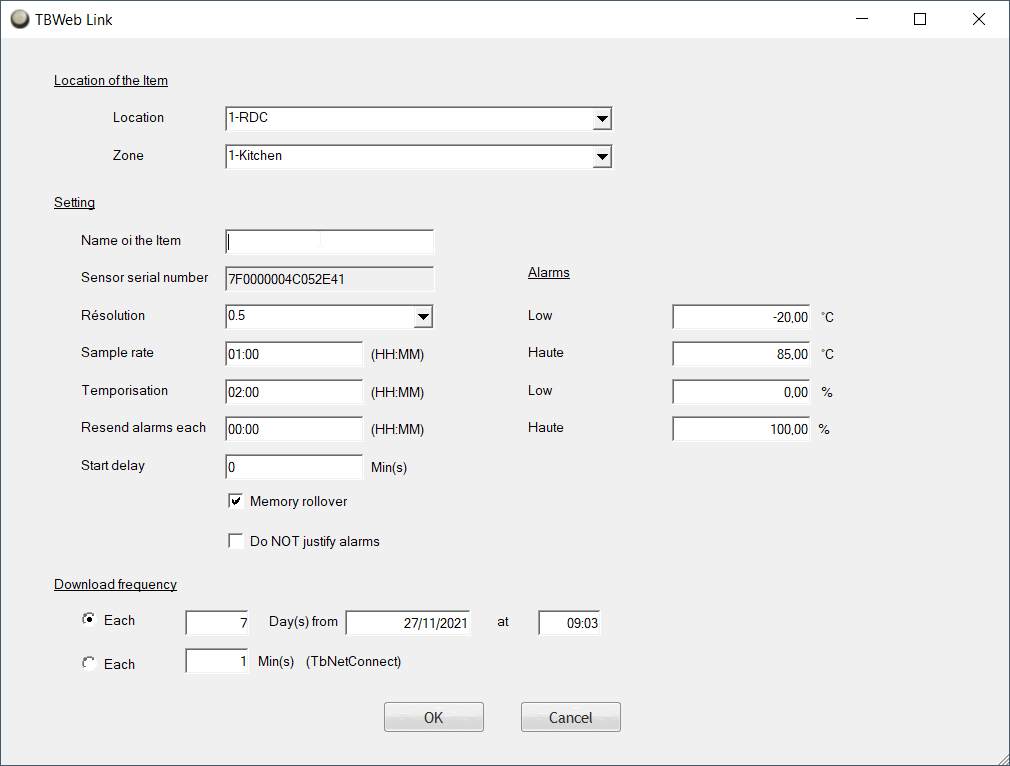
Resolution : (Buttons 22L and 22T only)
Indicate the required resolution. If you choose 0.1°C, the memory will have 4096 points. If you choose a resolution of 0.5°C, the memory will have 8192 points.
Sample rate
Indicate the sample rate you want for the Button. If you increase the sampling interval, you will increase the duration of the mission.
Date of the next reading
Indicates the date at which you must download the data of the Thermo Buttons.
High alarms, Low alarms
Enter here the low and high thresholds that the Button should not exceed.
Temporization
Enter here the grace period for the alarms. You can decide that an alarm is not critical if its duration is lower than the temporization. In this case, it will be displayed in orange in the list of alarms.
Countdown
Enter here the time before mission start.
Rewriting to full memory
You MUST check this box if you use the Thermo Button with a TB Net Connect.
Periodicity of reading
Indicate at which frequency the Thermo Button must be read. If this periodicity is not respected, you will be warned (you must also create your reports of not reading. See the article Reports).
Disable alarm justification
If this box is checked, you will have to justify each alarm. The alarm will be considered closed if the temperature is back in compliance AND IF the justification is done.
If this box is not checked, the alarm will be considered closed if only the temperature has returned to normal.
Go back to the TB Web Link software and set up the Buttons.
Mission relaunch
At any time, you can restart the mission with a button to delete the irrelevant data on board and start the logging with a free memory (example : start of delivery). The mission parameters (measurement frequency, etc.) are kept intact.